Showing posts with label fondant. Show all posts

Friday, 26 December 2014

Eggnog Cake


A richly spiced, fragrant and delicious cake with vanilla butter cream and a whipped cream and strawberry filling...
Eggnog Cake Cassie Cakes
Eggnog cake
Well, Christmas Day is done and dusted with glitter and my hangover is receding. The Christmas Tree is still shining bright but thoughts of packing it up have begun. Let's all live in the festive season a little longer and enjoy this Eggnog cake for Week 4 of my Four Weeks of Christmas Baking.

Eggnog Cake Cassie Cakes
All the good things.
I can't say that this is the only Eggnog cake on the internet but I do think this is the only one that has this texture - a moist, crumbly crumb that isn't too dense or too light. The only other ones that I have come across have been pound cakes that are quite heavy and closer to a sweet bread rather than cake. They're awesome, no doubt but my version is much more the traditional cake texture.

Eggnog Cake Cassie Cakes
You cut the butter up, you put it in piece by piece, it looks just like damp sand then you add the eggnog! Easy!
The flavours in this cake come from the traditional spices found in eggnog - vanilla, cinnamon, eggs and a touch of ground cloves. Now not all eggnog recipes have cloves in them but some, so it's up to you if you choose to put them in. Personally, I really enjoyed the slight heat and extra spice that the cloves added. It's only a touch too so if you're on the fence, give it a go. I really like the kick it gives the cake and it makes it fragrant and Christmassy. Which is the whole point of this cake.
 

Eggnog Cake Cassie Cakes
All ready to go into the oven with my 'bakeven' strips...highly recommend these strips for a nice even cake.

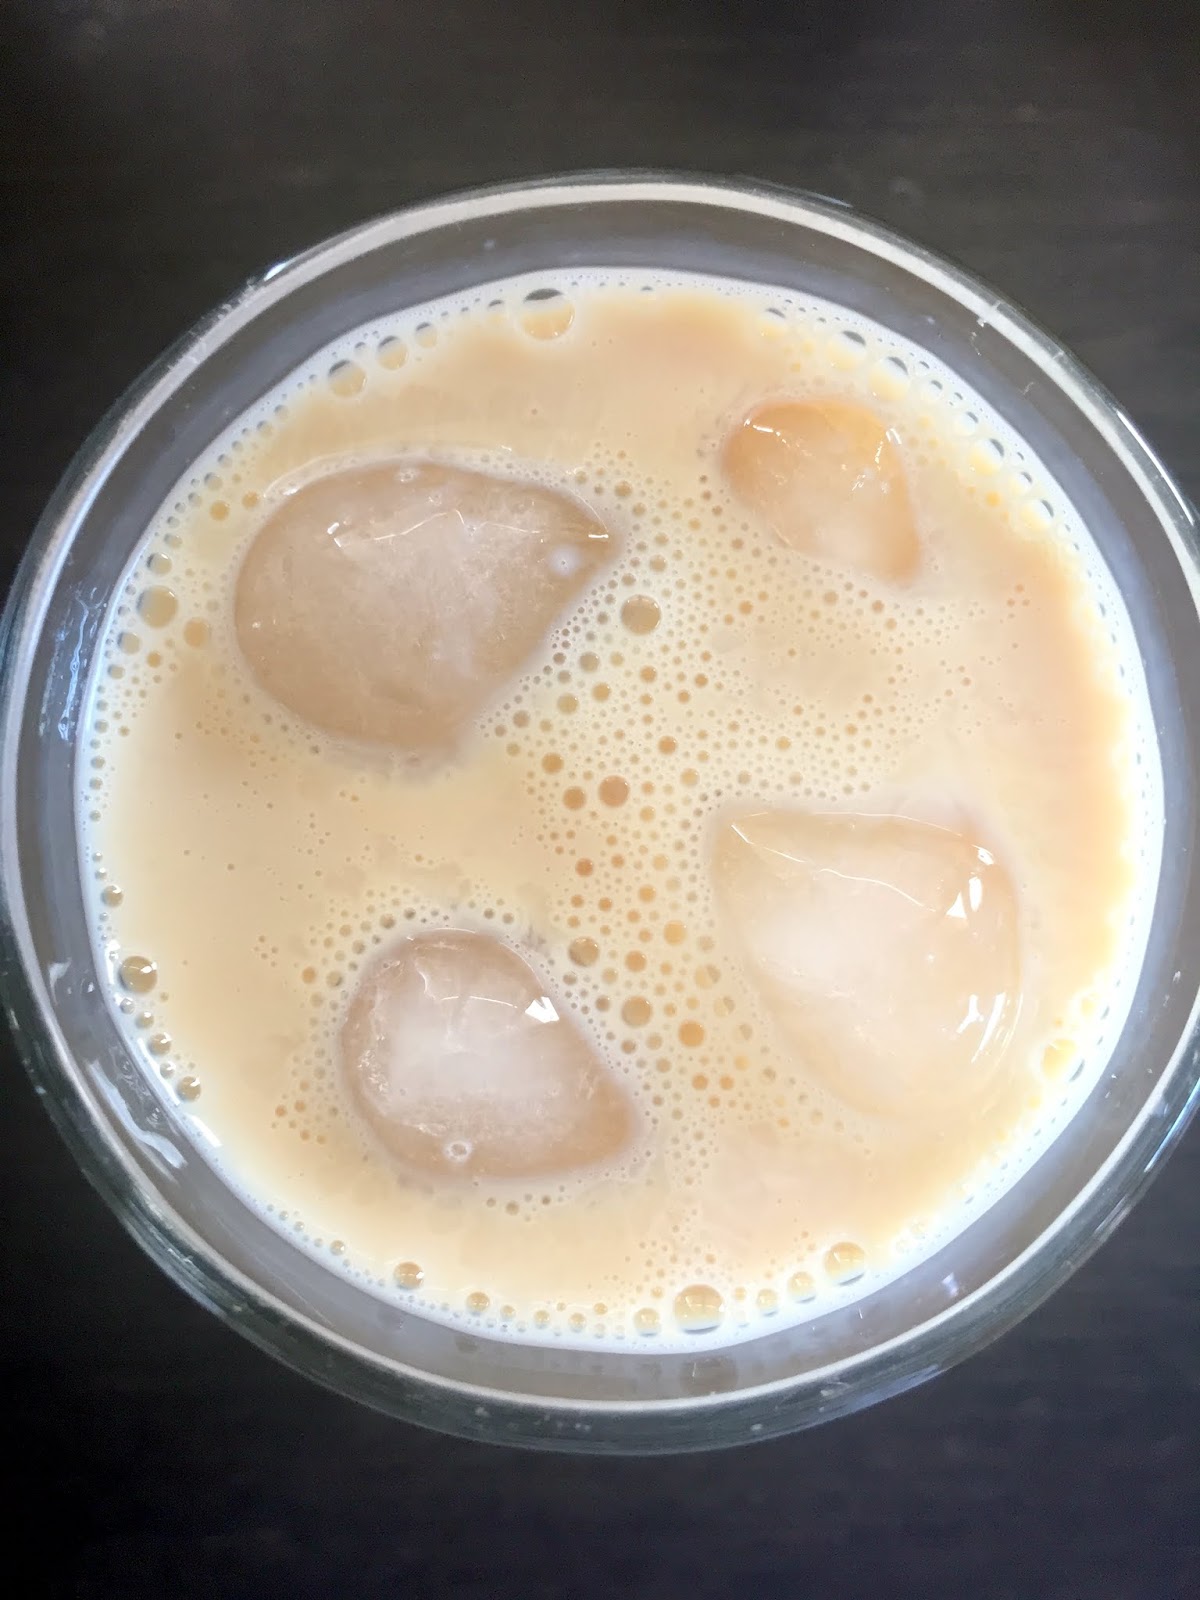
I used eggnog in this cake which I bought at the supermarket, but you could make your own if you felt like really going all out. There are lots of lovely recipes around. A good use for the leftover eggnog is mixing it with Baileys to drink while your cakes are baking! I got a good four cups in. Extra Christmas cheer and all that.
 

Eggnog Cake Cassie Cakes
Who wants Baileys?

The method in this cake is a little different, and the teaching comes from the most wonderful baker and one of my most favourite sites on the whole wide internet - Sweetapolita. This lady is simply amazing and her site is (along with Nigella's of course) my happy place online.

So this is what the first layer will look like...and the second too, really.

So instead of creaming the sugar and butter together then adding dry ingredients, in the traditional method, this recipe rubs in the butter to the flour of sorts. The first time I tried this method, I failed miserably but on my second attempt, it yielded the moist and fluffy cake that I know and love. So make sure you follow the directions carefully - trust me, you'll be so happy you did.
 
This is what the layers of buttercream may look like:
 

Eggnog Cake Cassie Cakes
You put your first, thin coat of butter cream on, the crumb coat...
 

Eggnog Cake Cassie Cakes
...then you have a Baileys.
 

Eggnog Cake Cassie Cakes
You put your second layer of buttercream on...
 

Eggnog Cake Cassie Cakes
...then you have a Baileys.
 

Eggnog Cake Cassie Cakes
You put your third layer of buttercream on...
 

Eggnog Cake Cassie Cakes
...and then you have a Baileys! YAY!
 
The icing on this cake is a classic buttercream with a cream and strawberry jam filling. I found that the cream and jam broke up the sweetness of the buttercream and was just unbelievable with the eggnog flavours. I'm a fan of putting different fillings in cakes, it's always a lovely surprise.

Eggnog Cake Cassie Cakes
And then all your hard work pays off! Have a Baileys to celebrate!
I decorated this cake with fondant holly leaves and berries that I made a few weeks ago. These are so easy to make and a really great place to start with fondant decorations. You'll need a specific fondant plunger. I won't go into too great detail on how to make them, there are plenty of great tutorials online. If you would like to see how I did it, leave a comment below and if there's enough interest I can do a post but trust me when I say it's fairly straight forward.

Eggnog Cake Cassie Cakes
Pretty.
I love the simplicity of the cake, I love a nice, white cake. Speaking of which, you will not be able to get the icing this white without white colouring which you can get at any cake specialty shop or on eBay. This will make the icing nice and white. If you don't want to buy this, a few drops of red or green would look really pretty too.


Eggnog Cake Cassie Cakes
Awww look at the tree!
So as we finish up with my Four Weeks of Christmas Baking for this year, I hope you had a lovely Christmas and have the most wonderful New Year.

Eggnog Cake Cassie Cakes
Lovely Christmas.


Eggnog Cake Cassie Cakes
Lovely cake! Open up, here come Santa's Sleigh! Choo choo! Choo choo? Yeah, why not.


Eggnog Cake Cassie Cakes
Merry Christmas everyone!

Have a look back at the weeks of Christmas Baking past:

Week 1 of Four Weeks of Christmas Baking: Christmas Star Cherry Tart with Cinnamon Honey Roasted Macadamia Ice Cream
Week 2 of Four Weeks of Christmas Baking: Raspberry Jam Drops
Week 3 of Four Weeks of Christmas Baking: Rum Ball Trifle
 
Eggnog Cake
Adapted from Sweetapolita Strawberry and Lavender Cake

Prep time: 50 mins
Cooking time: 25 mins
Total time:  1 hr 15 mins plus refrigeration time for icing
 
Servings: 12
 
Eggnog cake

4 whole eggs, room temperature
2 egg yolks, room temperature
300ml eggnog, divided
4 teaspoons vanilla extract
3 cups plain cake flour, sifted
1/4 teaspoon ground cloves (optional)
2 teaspoons cinnamon
2 teaspoons ground nutmeg
1 & 1/2 teaspoons baking powder
1 teaspoon bicarbonate soda
2 cups caster sugar
250g butter, cold and cut into small even pieces

 
Vanilla Buttercream
400g soft butter
4 cups (500g) icing sugar
2 teaspoons vanilla extract
60ml cream
White food colouring (optional)
 
Strawberry Jam and Whipped Cream Filling
2 teaspoons powdered gelatine
2 tablespoons cold water
1 & 1/2 cups cream
1/4 icing sugar
250g strawberry jam

2 tablespoons lemon juice
 
Eggnog Cake
 
  1. Preheat oven to 180°C
  2. Grease three 8 inch/20cm cake tins generously with butter and flour the sides. Line the bases with baking paper.
  3. Add the egg yolks, eggs, 60ml of the eggnog and vanilla in a jug with a spout and beat lightly and set aside.
  4. Sift together with flour, ground cloves, cinnamon, nutmeg, baking powder and bicarbonate soda into the bowl of a mixer.
  5. Add sugar and turn to mixer on to a low speed.
  6. Add pieces of butter to the flour with the mixer on low in 10 second intervals until all the butter is added. Mixture should look like damp sand.
  7. Add the remaining 240ml to the mix and beat on a medium speed for 4 minutes.
  8. Scrape sides of bowl then turn the mixer back to a medium speed
  9. Add the egg mixture very gradually to the batter until all the egg mix is added then turn the mixer up to a high speed and mix for 1 minute. Ensure egg is fully combined.
  10. Divide the mixture evenly among the three pans and bake for 25 minutes.
  11. Turn on to wire racks to cool after 5 minutes, remove baking paper and allow to cool completely.
Vanilla Buttercream
 
  1. Add butter to bowl of electric mixer and beat on high for 10 minutes.
  2. Add the icing sugar, cream and vanilla and beat until all combined and smooth.
  3. Add white food colouring and beat until colour is consistent.
  4. Set aside until required.
Strawberry Jam and Whipped Cream Filling
 
  1. Add gelatine to a small bowl and then add cold water. Mix and set aside for 10 minutes.
  2. In a small saucepan, heat 1/2 cup cream until it just begins to simmer then take off the heat and add gelatine. Whisk to combine and then place in fridge.
  3. Keep whisking the gelatine and cream every 2 minutes, placing back into the fridge in between, until the cream reaches a cool temperature.
  4. Whip the remaining 1 cup of cream with icing sugar until soft peaks just begin to form.
  5. Very gradually add the cool gelatine and cream mixture while beating and continue beating until medium-firm peaks form. Once medium peaks being to form, cease beating or cream with turn lumpy.
  6. For jam mixture, add the jam and lemon juice to a small saucepan and place on low heat.
  7. Bring to a gentle simmer and stir for 1 minute.
  8. Decant to a bowl to cool and set aside until required.
Assembly
 
  1. Place first cake on a cake board then pipe 1/2 the cream mixture on top, leaving a 1/2 inch space from the edge of the cake. Create a dam for the jam to go in.
  2. Place half the jam into the prepared area.
  3. Carefully place the second layer on top and repeat cream and jam steps.
  4. Place the last layer on top.
  5. Fill in any gaps in between the layers with buttercream.
  6. Spread a thin layer of buttercream over the entire cake and place into the fridge for 30 - 45 minutes. This is called a crumb coat.
  7. Take the cake out and spread another layer of buttercream onto cake. Repeat as necessary until cake is smooth and completely covered with buttercream.
  8. Decorate as desired.
Saturday, 27 September 2014

Cassie Cakes Goes to The Brisbane Cake Expo 2014

When I heard about the Cake Expo, I knew it was going to be an expo that I would need to be at. I've just come back and I have to say, I am excited about cake! I want to share with you the amazing works of art that I saw! It really was inspiring and I can't wait to use the new toys I got!
 
Cake Expo is on today and tomorrow. If you have time and you're in to cake, get down there!

Cassie Cakes Brisbane Cake Expo
I DO LIVE AND LOVE CAKE!


Cassie Cakes Brisbane Cake Expo
It was very, very busy and hectic. And almost exclusively women.
 

These sugar figures were all made with cutters. So impressive. They were for sale from Cakes by Ximena, all the way from Miami!

Cassie Cakes Brisbane Cake Expo
Absolutely amazing what can be made with sugar.


Cassie Cakes Brisbane Cake Expo
Too cute.

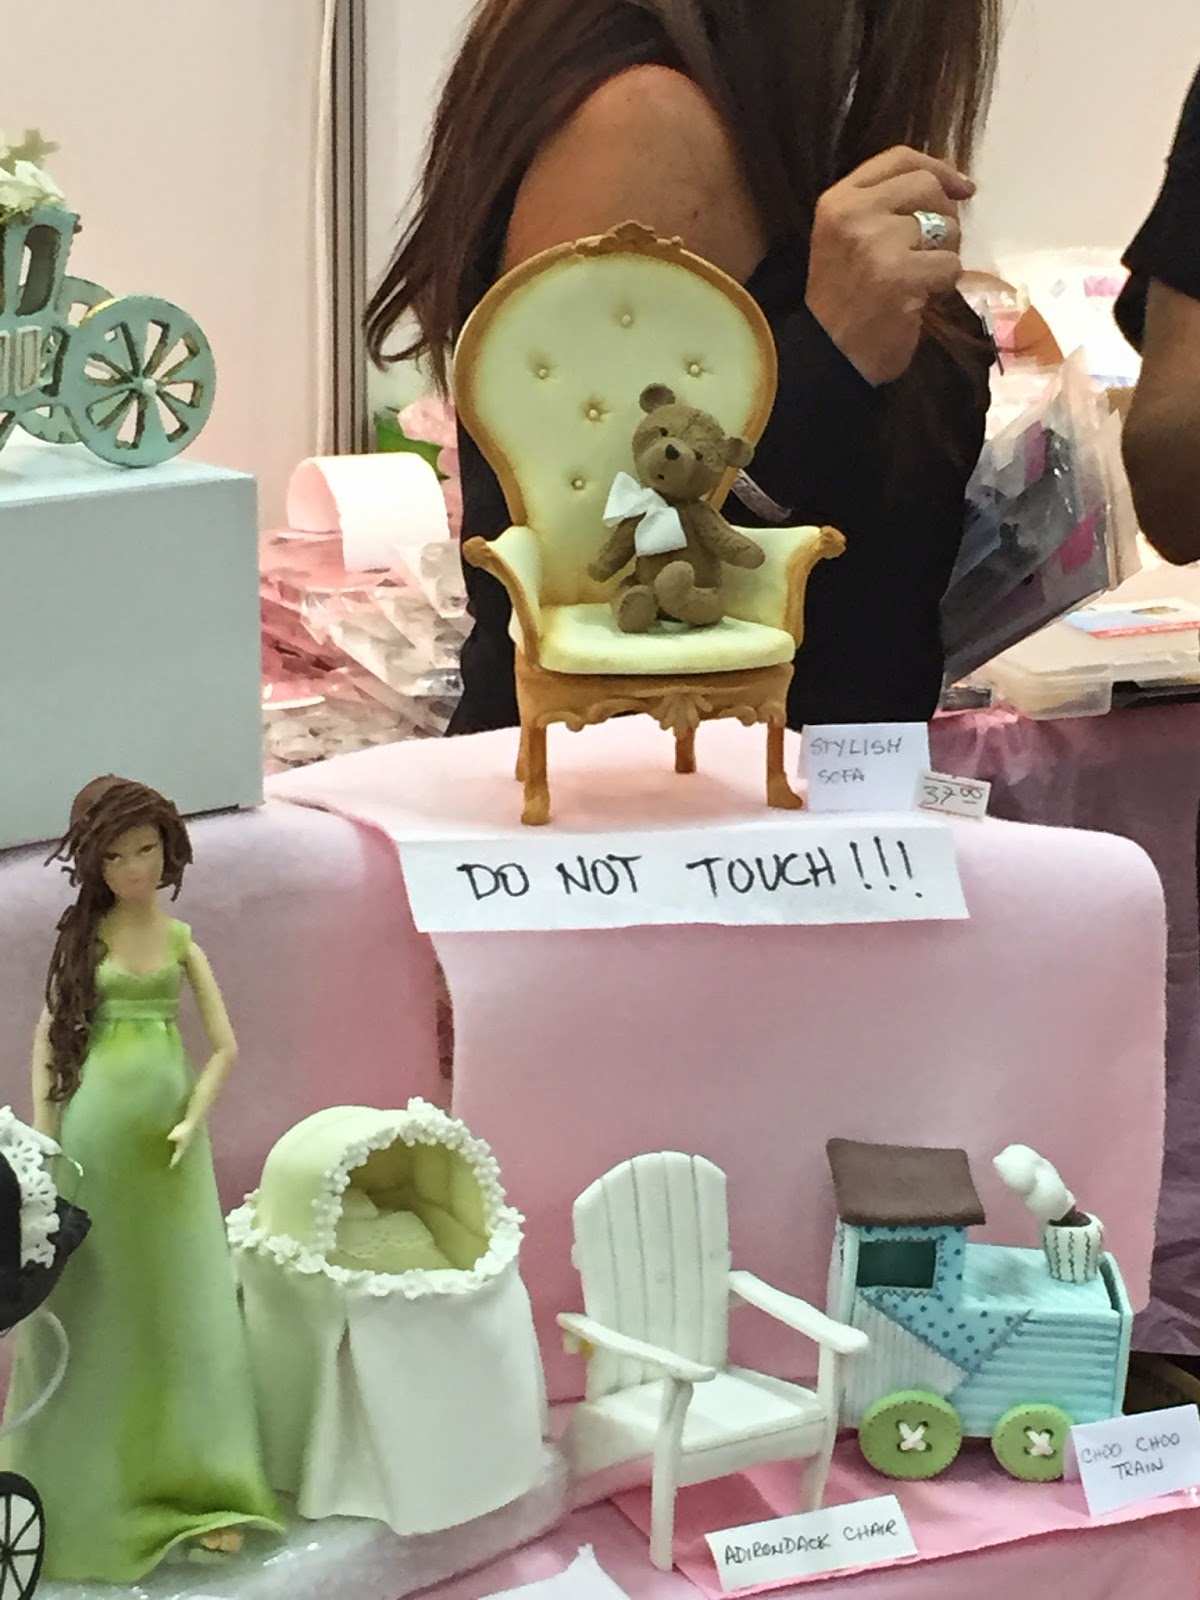
then there were the 3D fondant figurines. I loved these and they don't look too hard to do! I think I can work out how to do them! So cute.

Cassie Cakes Brisbane Cake Expo
Penguins are a favourite of my fellow Cake Expo-er.
How could we go to the Expo and not have some cake ourselves! This was a very nice chocolate mud cake. 

Cassie Cakes Brisbane Cake Expo
Time for some cake!


These cakes were all entered into the cake competition. There were five categories and $2,000 in prize money. The entries were wonderful and inspiring!
 
These were in the Three Tier + Category...
 

Cassie Cakes Brisbane Cake Expo
Amazing details with cake lake and pearlised balls of fondant.

Cassie Cakes Brisbane Cake Expo
Very geometric. And great flower!

Cassie Cakes Brisbane Cake Expo
This Frozen themed cake was very popular.


Cassie Cakes Brisbane Cake Expo
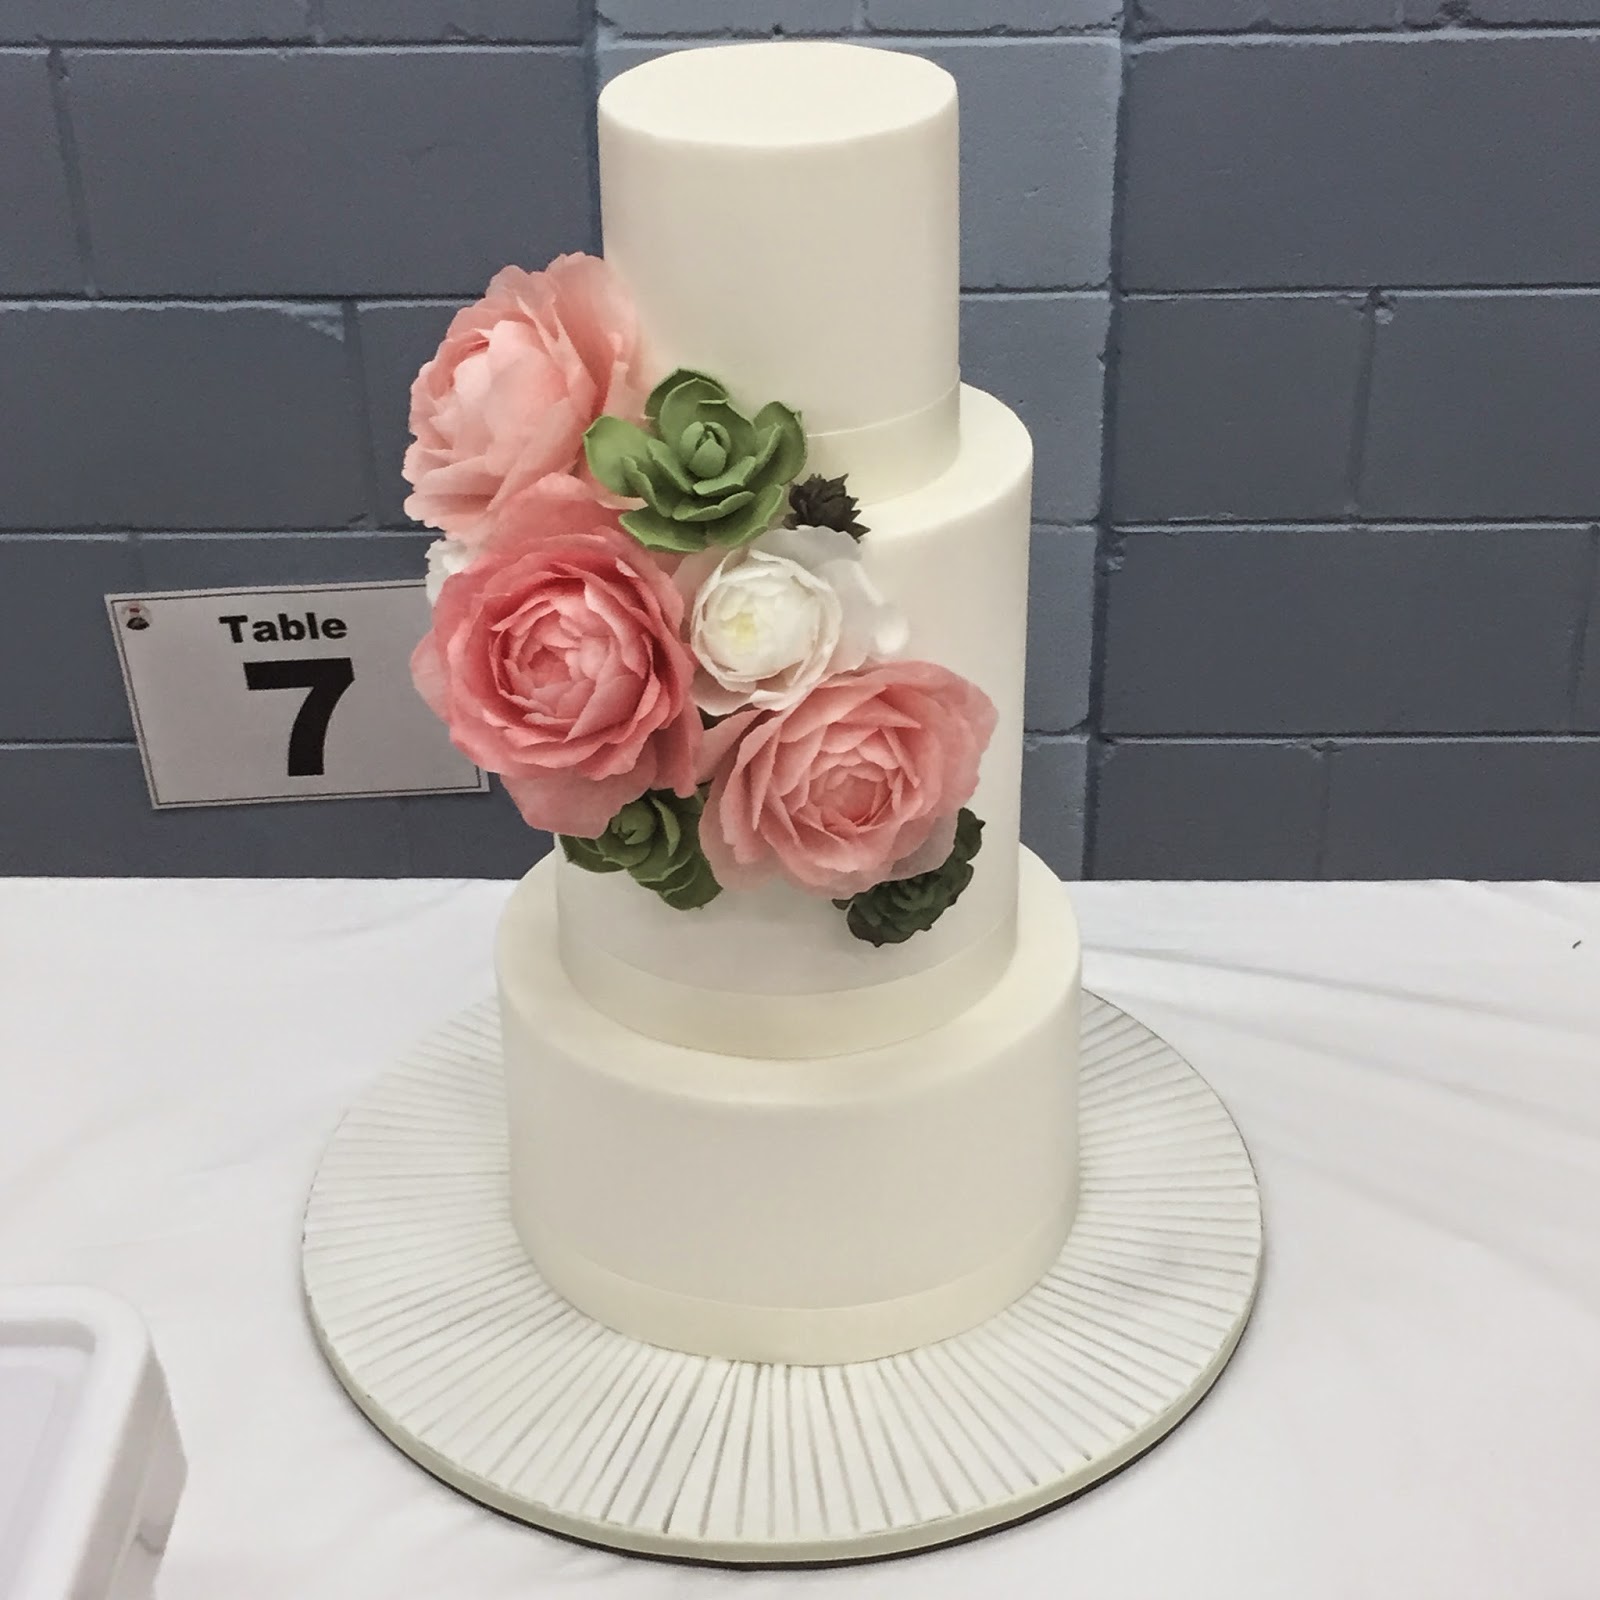
I voted for this cake made with wafer paper flowers. I really loved the simplicity and realistic flowers.


Cassie Cakes Brisbane Cake Expo
This cake was amazing. Each sequin would need to individually pressed and dusted with gold.

These were the Two Tier category entries...
 

Cassie Cakes Brisbane Cake Expo
This cake also featured wafer paper and the cutest cherry topping!
  

Cassie Cakes Brisbane Cake Expo
I liked the simplicity of this cake as well.


Cassie Cakes Brisbane Cake Expo
This was my favourite of the two tiered entries. I thought it would be a great birthday cake.
  These were the one tier entries...


Cassie Cakes Brisbane Cake Expo
Great use of cake lace and a wonderful gumpaste flower!


Cassie Cakes Brisbane Cake Expo
Monsters Inc and Toy Story themed. Imagine how long that Mike figure would have taken to dry!
 

Cassie Cakes Brisbane Cake Expo
Another Frozen themed cake. Notice the subtle embossing on the cake.


Cassie Cakes Brisbane Cake Expo
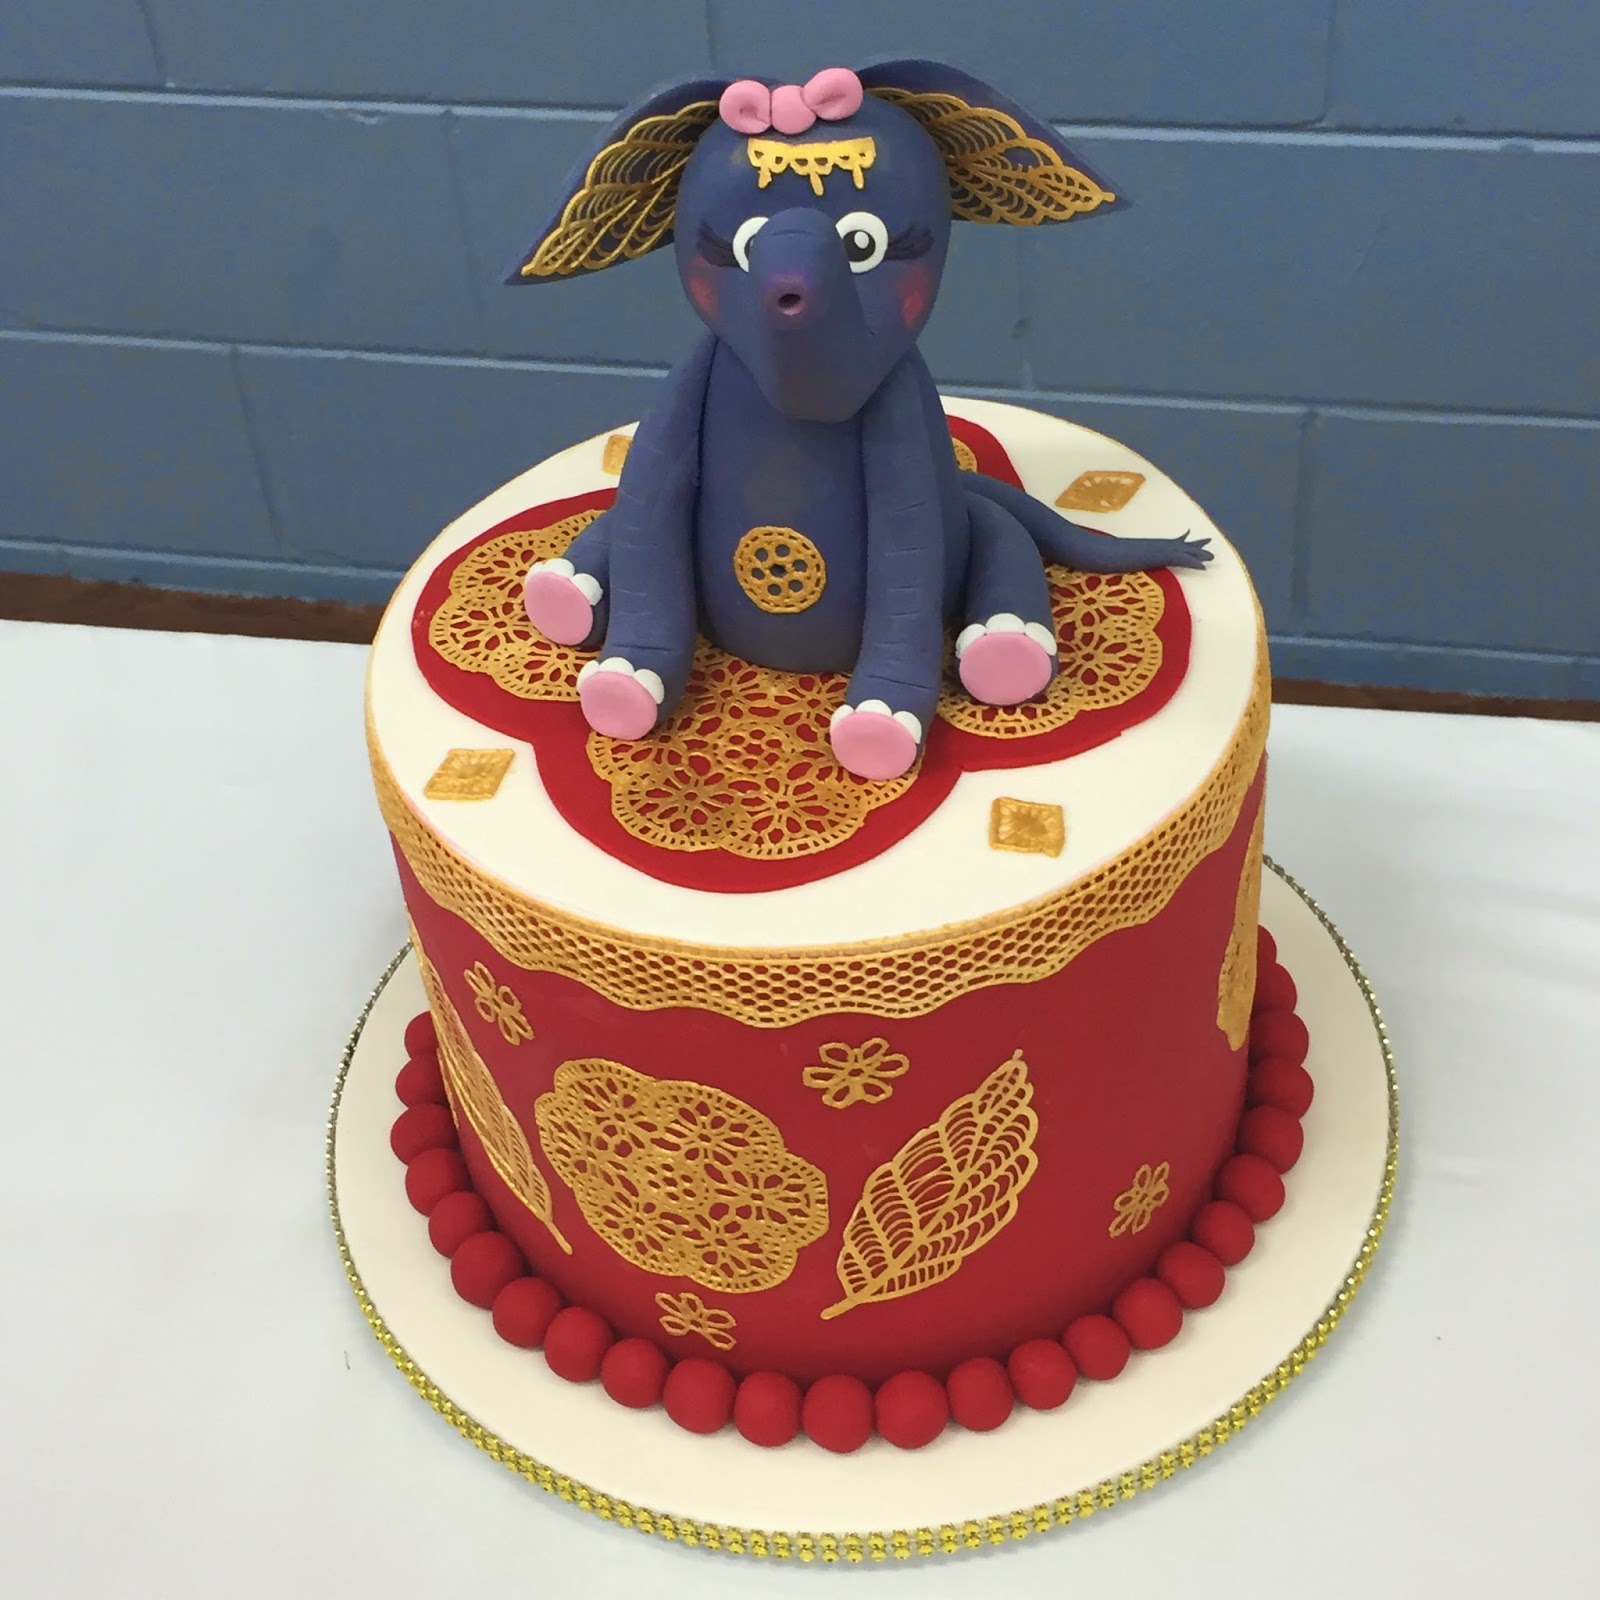
An Indian Elephant themed cake! This one got my vote.
Cassie Cakes Brisbane Cake Expo
How wonderfully cute is this cake! There were little drops of "paint" on the board too!


Cassie Cakes Brisbane Cake Expo
And closer up...look at his little face!

These were the Cupcake Tower entries...these were very impressive and must have taken a long time!


Cassie Cakes Brisbane Cake Expo
Such lovely garden party themed cupcakes.


Cassie Cakes Brisbane Cake Expo
I can really see these at a lovely spring wedding.

Cassie Cakes Brisbane Cake Expo
More gorgeous, girly cupcakes!


Cassie Cakes Brisbane Cake Expo
Wonderful details!

Cassie Cakes Brisbane Cake Expo
I just loved this animal themed tower!


Cassie Cakes Brisbane Cake Expo
Puppy friends!


Cassie Cakes Brisbane Cake Expo
Hey little fella!

Cassie Cakes Brisbane Cake Expo
My fav little puppy.


Cassie Cakes Brisbane Cake Expo
Another animal themed with a few Elmos and Cookie Monsters thrown in.
Cassie Cakes Brisbane Cake Expo
My favourite animals! PANDAS!


Cassie Cakes Brisbane Cake Expo
Nice and simple, this one was a lovely tower which I think I can replicate.

Now the Novelty Themed cakes! These were amazing and just so exceptional! I can't imagine how long they would have taken to do.


Cassie Cakes Brisbane Cake Expo
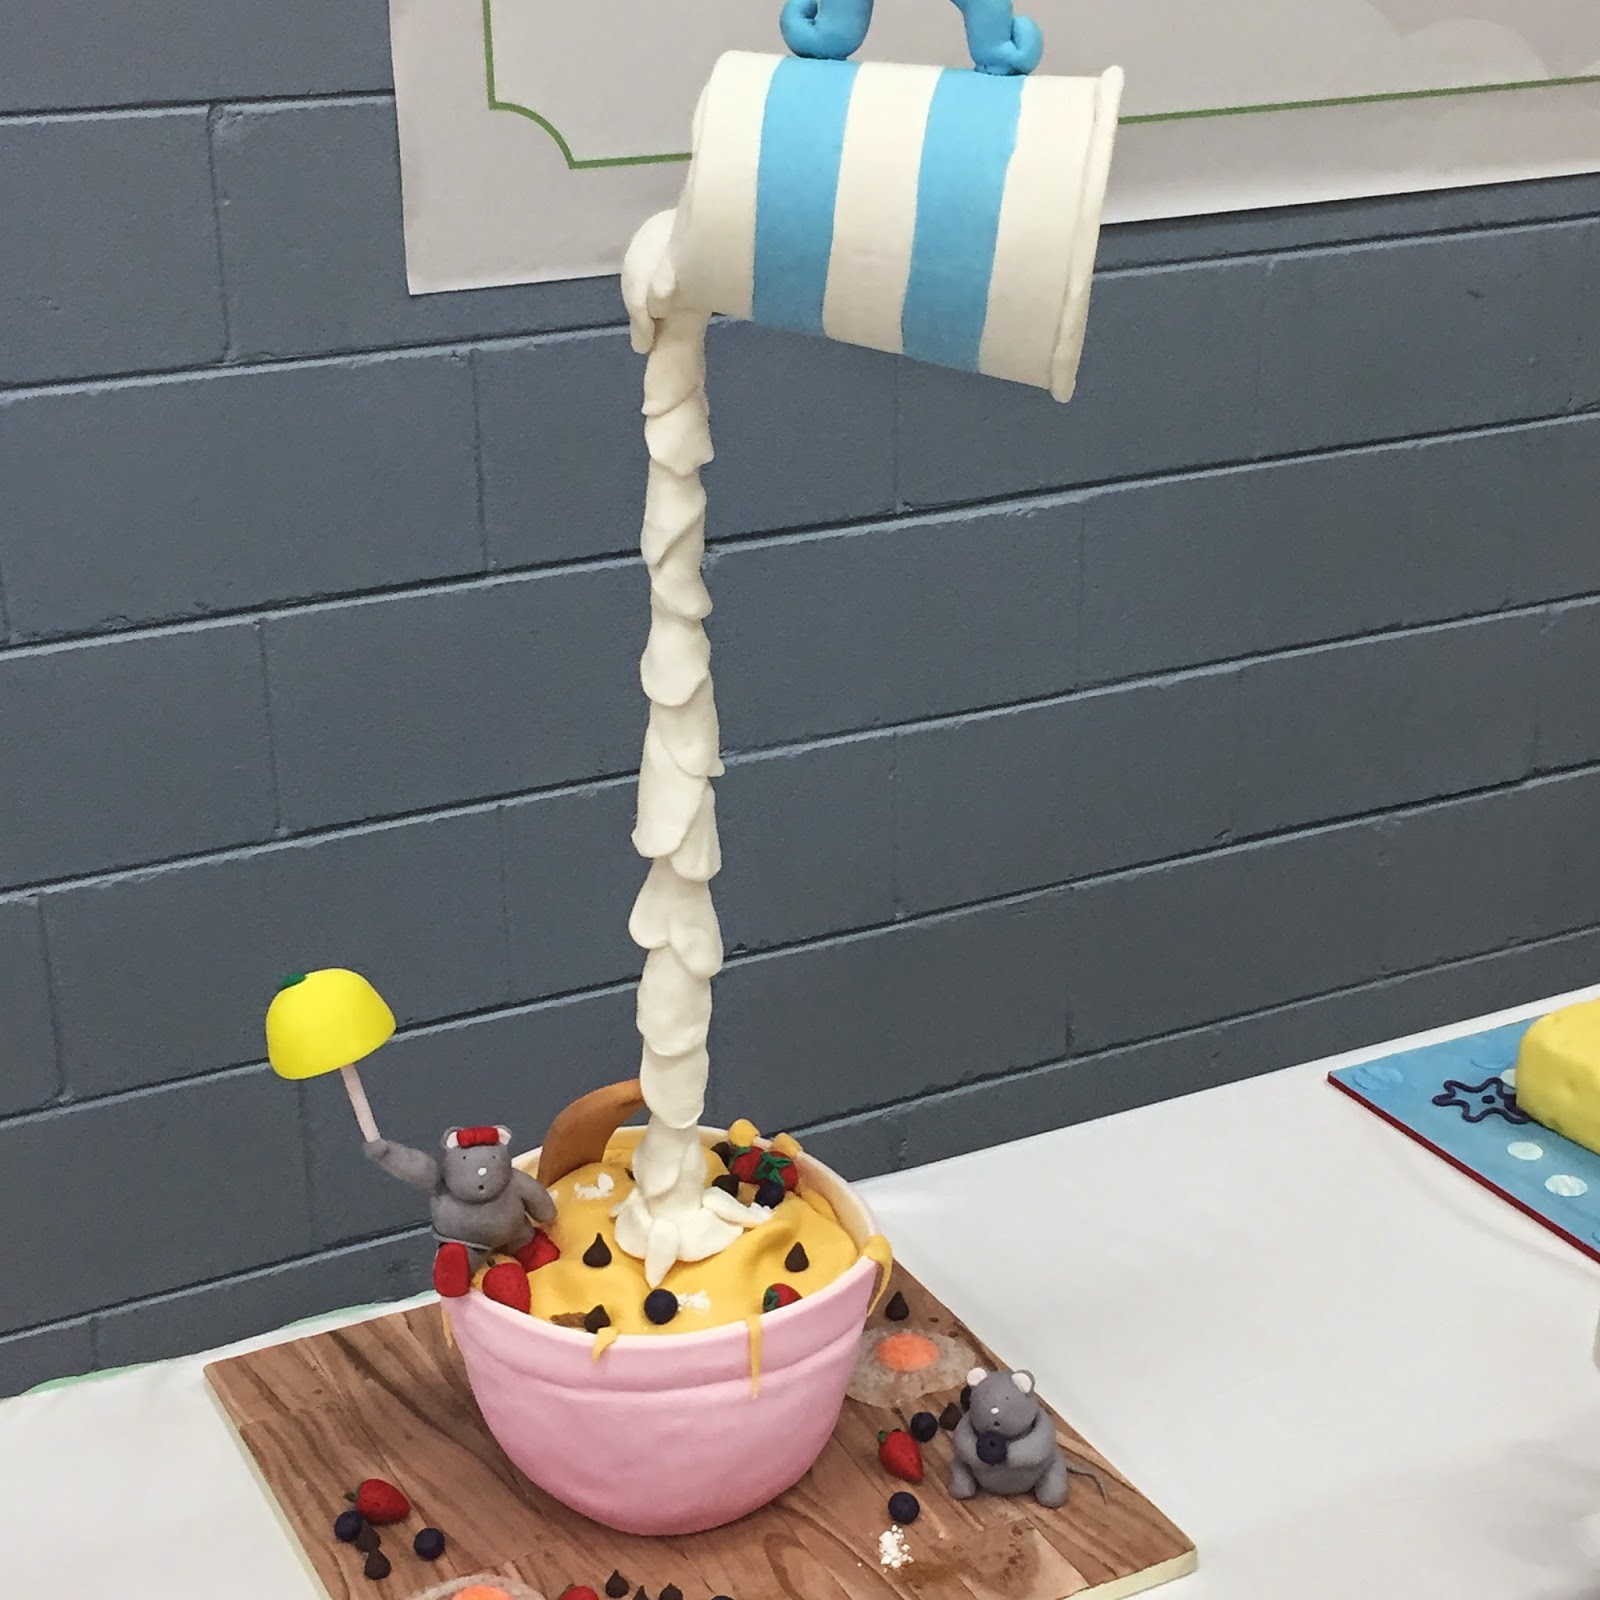
Some mice playing in a pudding bowl!
 

Cassie Cakes Brisbane Cake Expo
Notice her lemon half umbrella? So cute and creative.

Cassie Cakes Brisbane Cake Expo
Love the egg and the expression on the mouse.


Cassie Cakes Brisbane Cake Expo
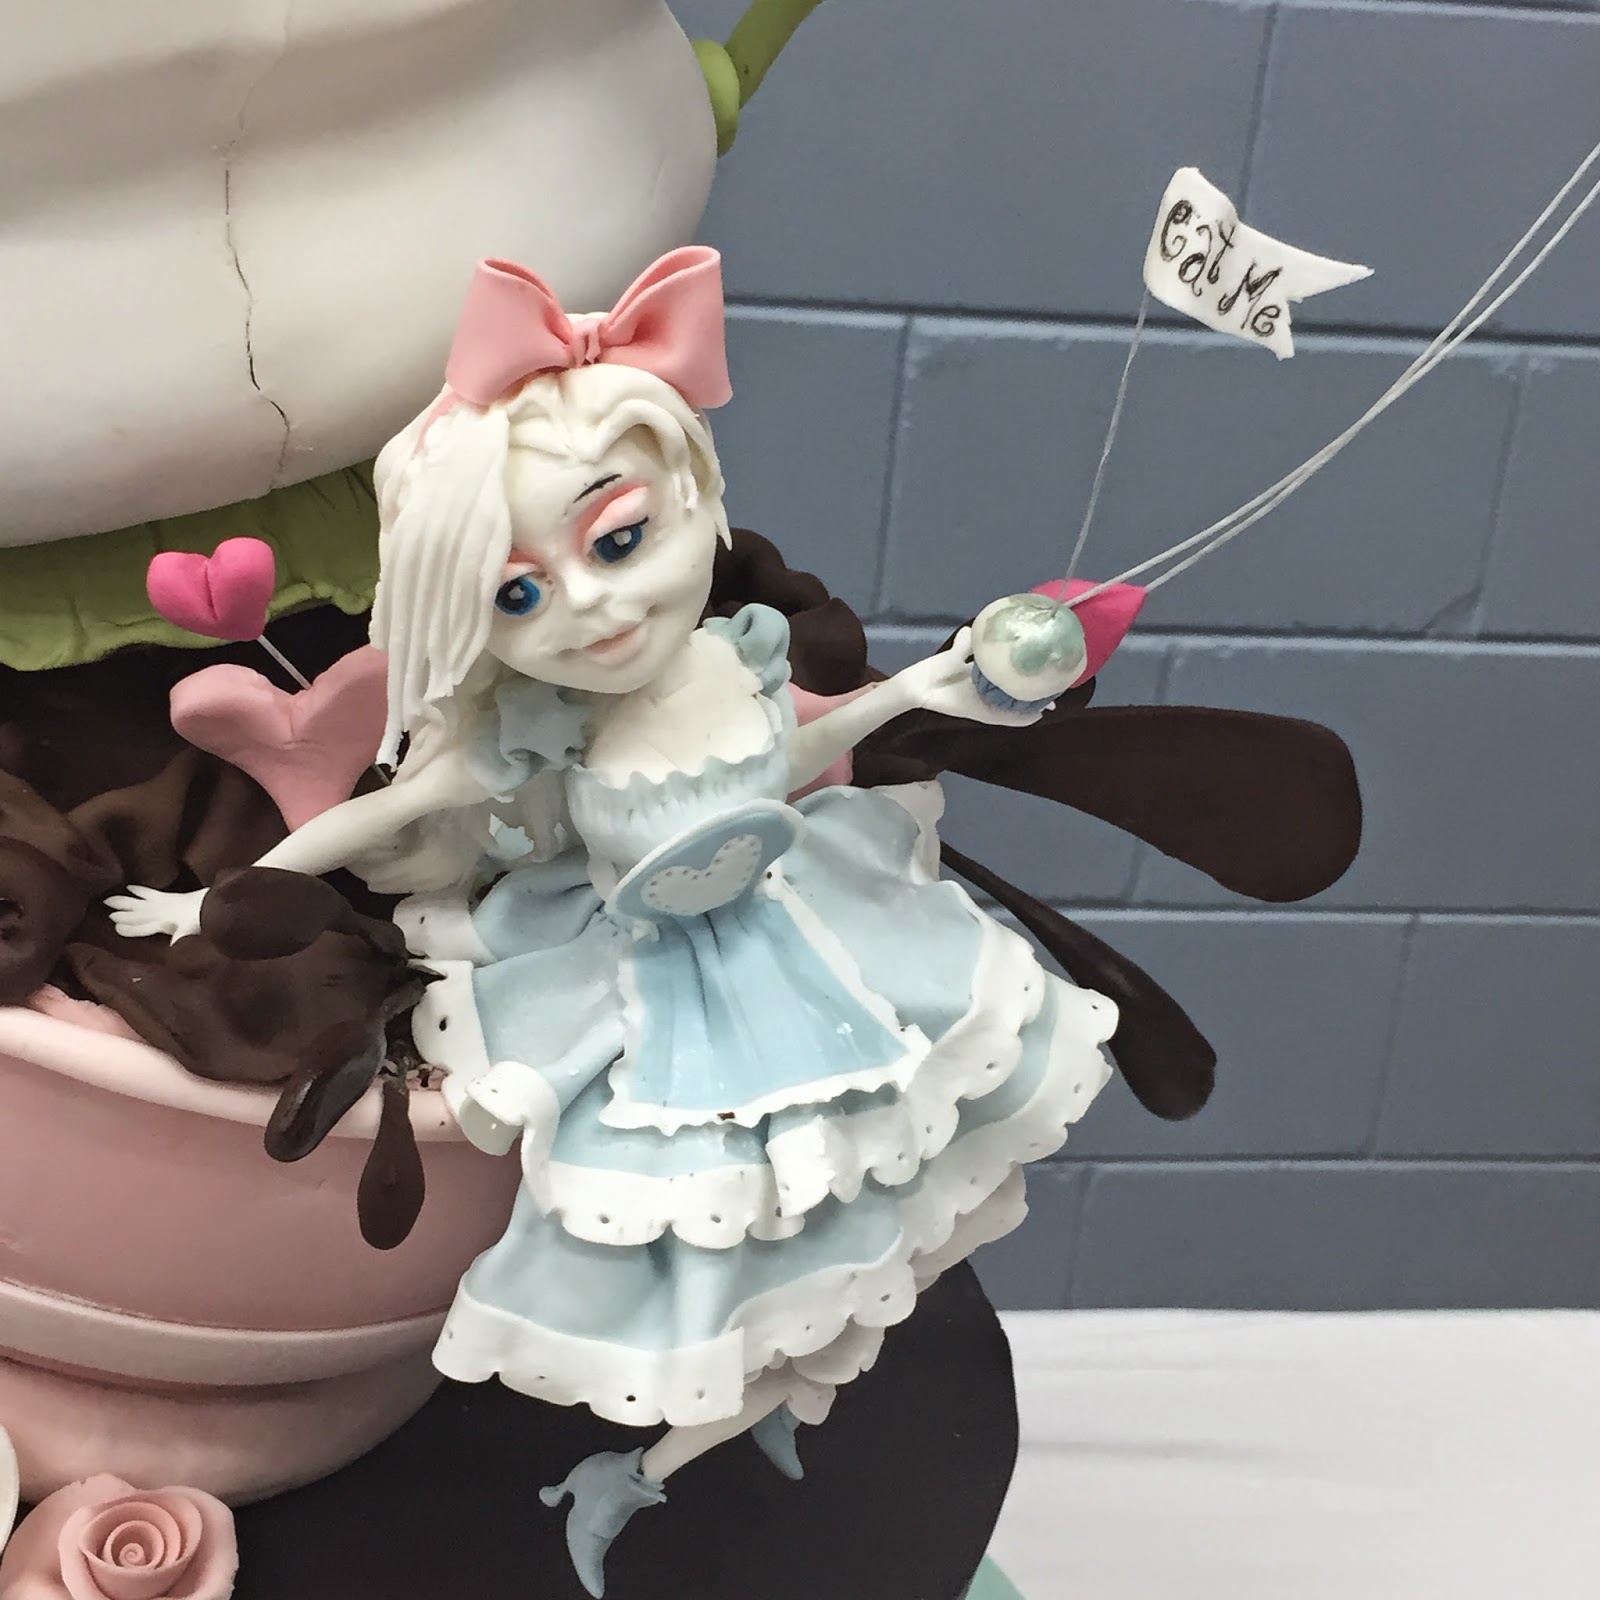
This Mad Hatter cake was out of this world!

Cassie Cakes Brisbane Cake Expo
So detailed.
Cassie Cakes Brisbane Cake Expo
Hours of work went into this!


Cassie Cakes Brisbane Cake Expo
Amazing.


Cassie Cakes Brisbane Cake Expo
A lady walking her gentleman octopus.

All of these cakes were amazing. It was so fun to see all the tools and equipment and to see what can be done! I'm very inspired and hope to make a few things using fondant and sugar art very soon!
Powered by Blogger
Design byJasmineJoy